


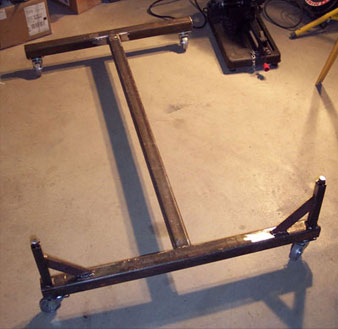
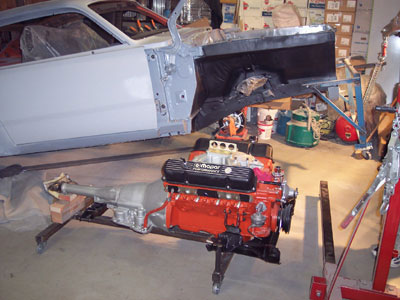
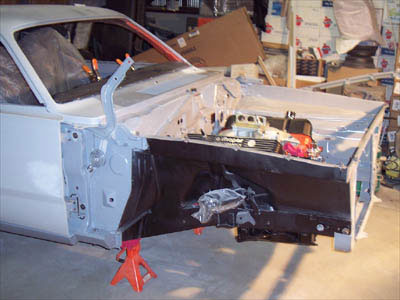
When the time came to mock up the new engine and trans into the car (they would be removed again for painting the body), I fabbed up a dolly for the 'ol "install the engine, trans, and k-member with steering and suspension from the bottom trick" - just like the factory did. The idea is to lift the front of the car, roll the assembly underneath, then drop the car down over it and bolt the k-member to the frame rails. Engine compartment space will be at a premium with the big block so the theory is: less chance of scratched paint or other damage during installation vs. going in from the top.
The dolly was made from 2"x2" box tubing, iron casters, and other steel I had laying around.
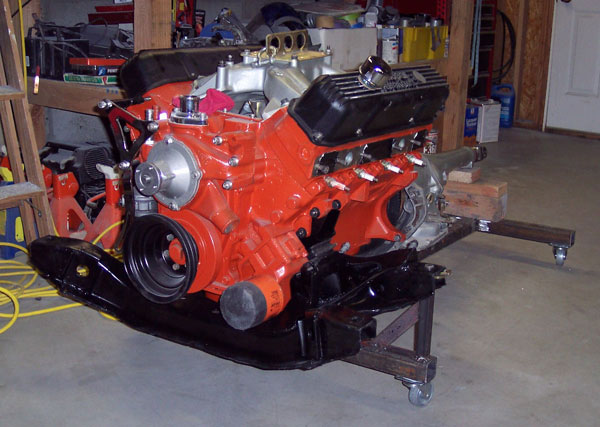
By the way, I used the Schumacher engine mount conversion kit to go from /6 to big block with the original k-member.
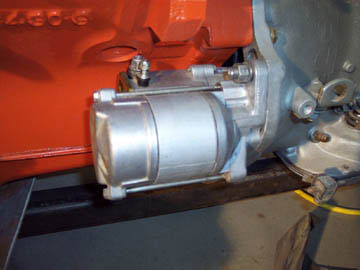
An easy and popular upgrade is to swap the big 'ol Chrysler gear reduction starter for the later mini-starter. Advantages include: small size for header clearance, light weight, as much or more torque than the original, and it's a direct bolt-on.
This one's a junk yard piece from a Dakota pickup. The battery cable lug is close to the block. In fact, I removed about 1/4" of the stud which is extra long anyway. Good idea to attach the cables before mounting the starter...
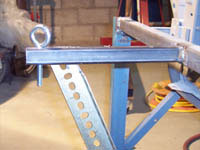
A couple of pieces of scrap were added to the front of the body "dolly" and an eye bolt added. The purpose of this was to get the cherry picker away from the front of the car where it wouldn't interfere with rolling the engine underneath.
The picker was rolled in from the side and the front of the car hoisted.
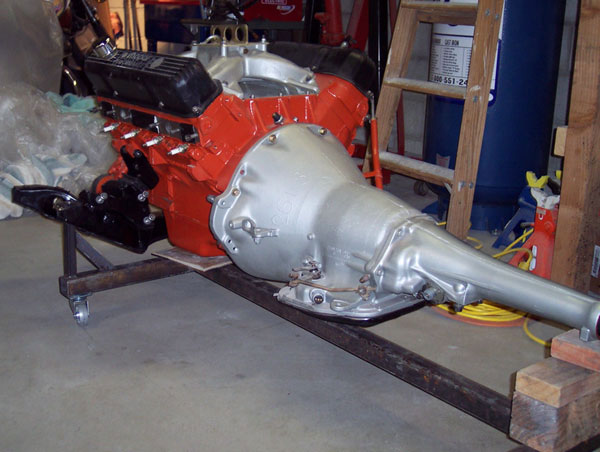
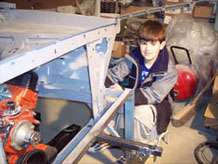
The engine and tranny was then simply rolled into position and the body dropped down onto jack stands.
We then unbolted the body dolly from the front of the car.
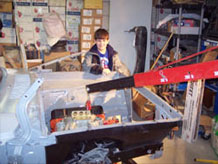
The picker was then repositioned and the engine/tranny lifted up off its dolly. The k-member was easily bolted to the frame rails.
The transmission cross member was bolted to the chassis and we're done! This was a pretty slick way to do it and good practice for when it will all go in again a second time after paint.
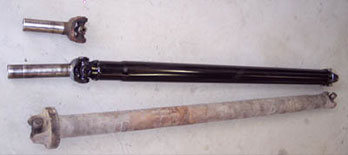
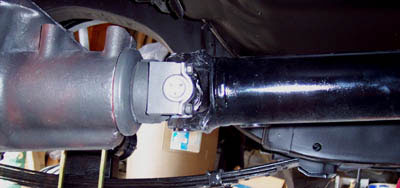
Here's the shortened driveline straight from the driveline shop. On the bottom is the shaft from the Satellite that I scrounged the entire drive train from for the project. It was the same diameter and length as the original Duster shaft. The only difference is the vibration damper on the left end. I pulled the 727 slip yoke from it and took the Duster shaft and new u-joints to the shop. I had them shorten it to 45 1/2" c/c. That's the distance with the slip yoke pulled out 3/4" from the end of the Chrysler trans boot to the pinion yoke of the B-Body 8.75" rear. On top is the old 904 slip yoke.
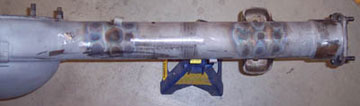
The chunk was bolted to the axle housing and the suspension loaded to simulate ride height. An angle finder was used to set the pinion angle by rotating the axle assembly up or down to the desired angle - in this case 3 degrees nose-down relative to the drive shaft. The perches were then tacked in place and the entire rear removed and disassembled.
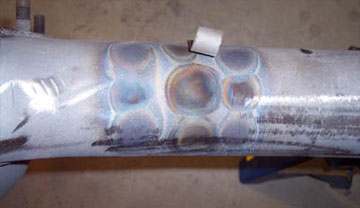
The housing went back to the driveline shop to finish weld the perches (I didn't feel my mig welder was hot enough to get good penetration) and check the housing for straightness. When I pulled the rear from the Satellite there were signs of abuse including some crushing of the housing on the passenger side at the u-bolts.
You can see where the shop applied concentrated heat in several spots to coax the housing back into alignment.
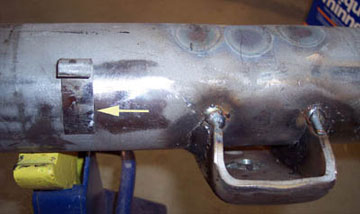
The perches were moved inboard from the stock B-Body location to accommodate the new spring spacing. Consequently, before taking the housing down to the shop, I relocated the brake line clips inboard on each side an inch or two. This is necessary as the new lines will also need to be re-bent to clear the u-bolts.
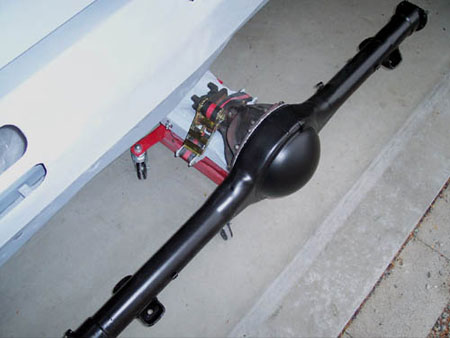
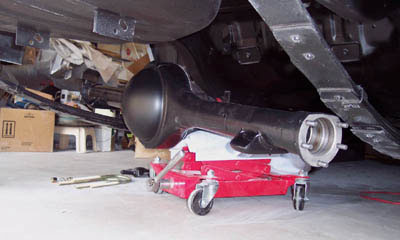
My spine has seen better days so after painting the housing and bolting it to the chunk (with gasket and sealer) I rolled the assembly under the car...
...then rotated and raised it into position over the springs. Painless!

The u-bolts were shortened with a chop-saw and the ends cleaned up. Threading the nuts on first before cutting will help clean the threads when backed off, if necessary. Then, everything was assembled and tightened down.
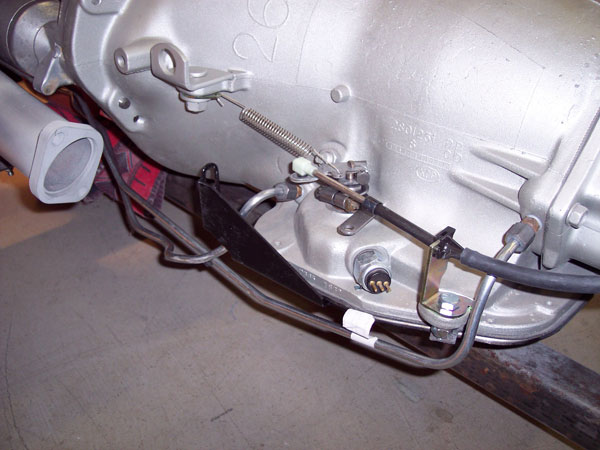
Here you can see the kickdown cable from Bouchillon Performance. Its a pretty nice kit with everything needed to get rid of the old linkages. I originally bought a Lokar cable but returned it after finding this. I think its just engineered better.
You can also see the B&M shifter cable bracket - not as well engineered. It bolts up with supplied hardware using a couple of pan bolt holes with spacers. The tranny cooler line interfered with it so that had to be re-bent. B&M also supplies a new shift lever which will accept a swivel at the end of the cable. Kickdown cable comes in from the rear and the shifter cable from the front.
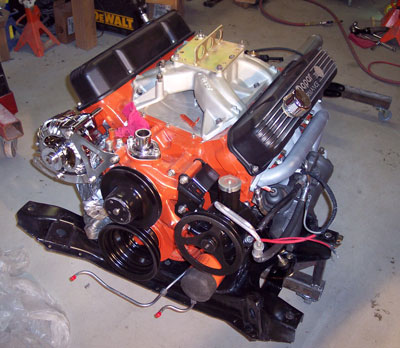
Heres the engine and tranny on my K-Frame dolly immediately prior to final installation. Most all of the accessories are in place.
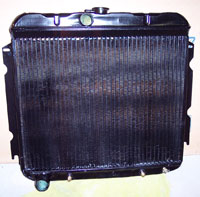
It wasnt until final assembly that I addressed cooling. The reproduction (67-69) 22 big block radiator I got from U.S. Radiator had been sitting in the parts pile for years. If I hadnt already spent the money I probably would have gotten an aluminum unit and quite possibly an electric fan. I wanted to see if I could make the stock style work and I didnt want to cut the core support to make room for a larger radiator - which is typical.
I settled on a Hayden #2765 thermal fan clutch (and fan blades #3618) purchased through a local auto parts store. The unit is intended for a Jaguar but is the shortest fan clutch available that will fit Mopars.
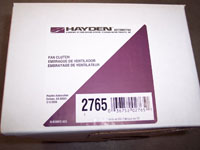
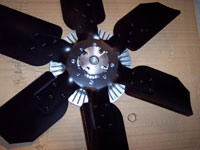
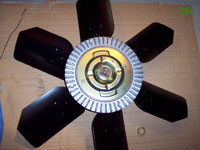
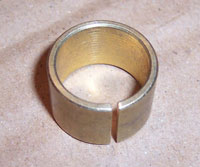
The fan clutch came with a reducer bushing so that it would fit the smaller water pump snout. Because of such shallow space, getting it bolted to the water pump is slow going with a fair amount of finger gymnastics. Once installed I had about 1/2 of clearance between the fan and radiator - just enough to slide the radiator in and out.
UPDATE: I later added a shroud, tried just an electric fan, but wasn't satisfied with the cooling until I switched to a solid fan in conjunction with the shroud and Milodon 180* thermostat.
UPDATE: I later added a shroud, tried just an electric fan, but wasn't satisfied with the cooling until I switched to a solid fan in conjunction with the shroud and Milodon 180* thermostat.
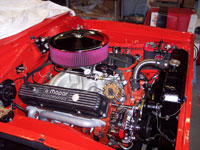
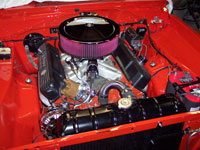
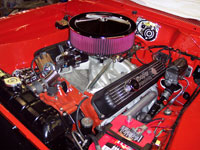
Heres the engine shortly before being ready to fire it for the first time and break-in. A Holley 850 DP sits atop a 1 4-hole spacer and Torker II manifold. I inherited the Torker II with the engine so I thought Id give it a shot. A dual plane is generally considered better for the street so the 4-hole spacer is intended to improve low-end response.
 |
 |
 |
 |
 |
 |
 |
 |
 |
© 2013 JP Herrick Enterprises - All Rights Reserved
Site updated: January 2014
