


My single most greatest concern on this whole blower upgrade project was keeping everything cool.
The car came with a 22" radiator core support. I could have opened it up for a wider radiator but didn't want to. I had challenges keeping the first 440 cool with a 22" stock style, 3 row copper/brass radiator but found success with a shroud, solid mechanical fan, and high flow thermostat.
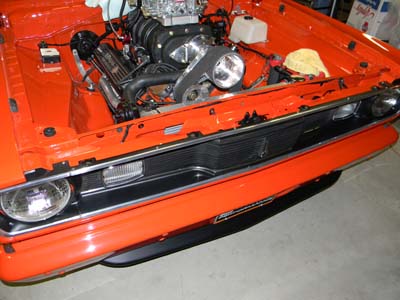
But no matter what radiator you use, there just isn't a lot of space between the front of a big block engine and the radiator in an a-body car. Add a 3" blower drive system and you have no space.
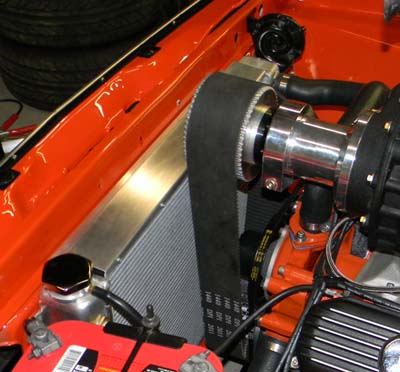
I determined that the newer aluminum radiators available might give me thinner dimensions without sacrificing cooling ability. Still, with a power steering pulley at the crank, I'd be lucky to have 1/4" clearance between the blower drive pulley's and the radiator core. Forget about any kind of fan in there.
I decided to convert to manual steering which would eliminate one v-pulley and give me a fraction of an inch more clearance between the drive and radiator. Still not enough room for a fan of any kind, but valuable space nonetheless.
Summit Racing's universal, two row, crossflow fit the bill for size and price.
The car came with a 22" radiator core support. I could have opened it up for a wider radiator but didn't want to. I had challenges keeping the first 440 cool with a 22" stock style, 3 row copper/brass radiator but found success with a shroud, solid mechanical fan, and high flow thermostat.
But no matter what radiator you use, there just isn't a lot of space between the front of a big block engine and the radiator in an a-body car. Add a 3" blower drive system and you have no space.
I determined that the newer aluminum radiators available might give me thinner dimensions without sacrificing cooling ability. Still, with a power steering pulley at the crank, I'd be lucky to have 1/4" clearance between the blower drive pulley's and the radiator core. Forget about any kind of fan in there.
I decided to convert to manual steering which would eliminate one v-pulley and give me a fraction of an inch more clearance between the drive and radiator. Still not enough room for a fan of any kind, but valuable space nonetheless.
Summit Racing's universal, two row, crossflow fit the bill for size and price.
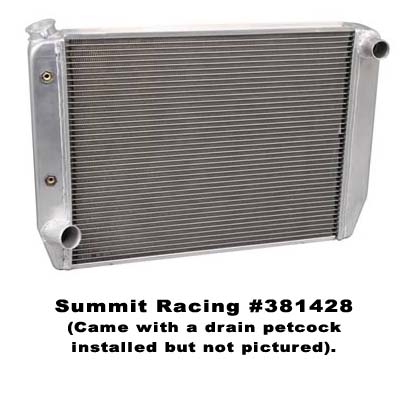
The overall width is a over 27" which just fits between the frame rails. The core width and height match the 22" core support. At under $200 it comes with no mounting brackets but has an integrated trans cooler (even less $ if you don't need it) and included a drain petcock even though the description said there wasn't one. At this price I could afford to make simple mounting brackets and have them TIG welded exactly where I wanted them and still come out way ahead of the pricey $600+ units.
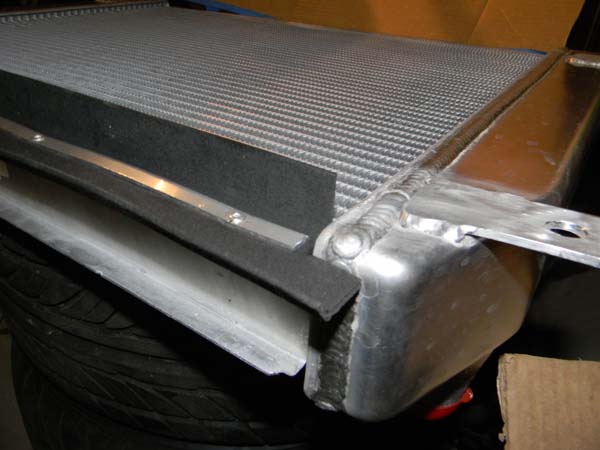
With 4 mounting tabs welded to the tanks (by my buddies at Spyder Industries) I turned my attention to sealing the gap between the core itself, which is not flush with the tanks (ie: the tanks are thicker than the core), and the core support. Air is going to take the path of least resistance. I want to force it through the core, not let it travel around the core and blow through gaps at the top and bottom.
I found some pre-molded weatherstrip designed to go on the bottom of garage doors at Lowe's.
Using a strip of aluminum, I sandwiched the weatherstrip and pop-riveted it to the bottom flange on the core.
I found some pre-molded weatherstrip designed to go on the bottom of garage doors at Lowe's.
Using a strip of aluminum, I sandwiched the weatherstrip and pop-riveted it to the bottom flange on the core.
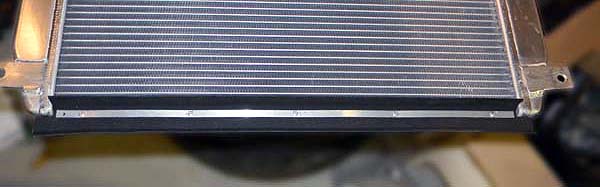
In this case the upper lip of the seal does most of the work of covering the gap in the core support opening. The lower lip is just a bonus.
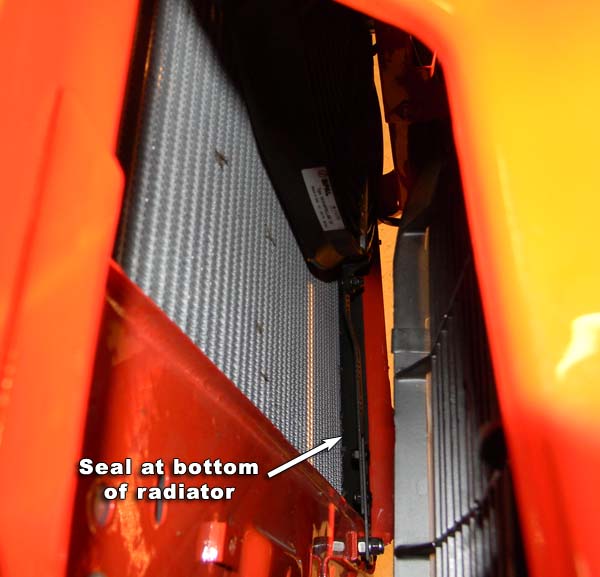
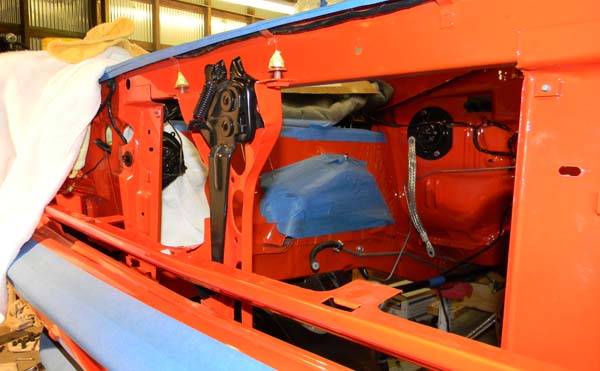
It's difficult to see but with everything installed and looking down behind the grille you can see the seal blocks an otherwise large gap that would allow air to flow freely around.
The upper gap was covered by an aluminum L-shaped bracket attached to the core flange, along with foam weatherstrip to prevent chaffing. The whole thing was capped with a separate aluminum piece to dress it up.
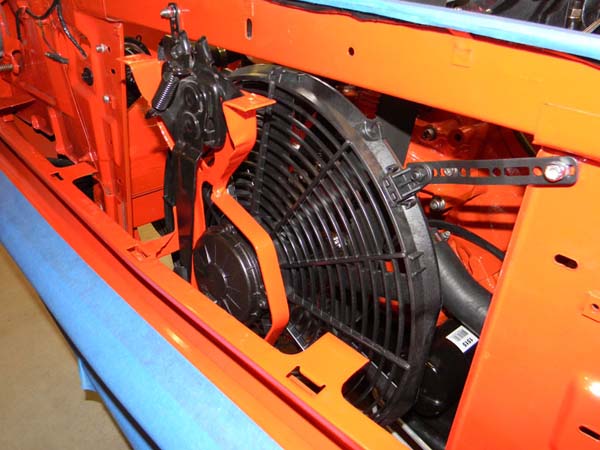
There's obviously no room for a fan behind the radiator, so...
There's obviously no room for a fan behind the radiator, so...

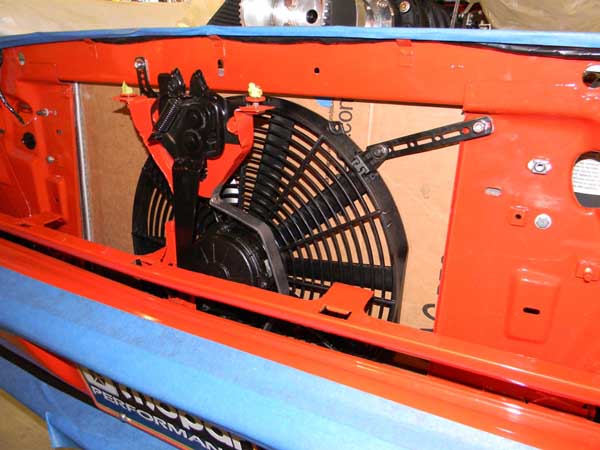
The snub nose of the '70-'72 Duster doesn't leave much room between the grille and radiator for just any electric pusher fan.
AND, the grille support/hood release mechanism is right where a single fan motor wants to be. You could potentially straddle the middle support with two smaller fans but I determined that would create problems of it's own.
The most powerful single 17" fan I could find was the Derale 16217. However, I misjudged some dimension and found the housing interfered - a no-go. Had to return it.
I bit the bullet and bought a 16" SPAL pusher (301022047) from A1 Electric along with mounting brackets and pigtail.
SPAL fans are highly regarded with accurate CFM ratings.
Modifying the support bracket gave me the fan motor clearance I needed. Still, everything is tight.
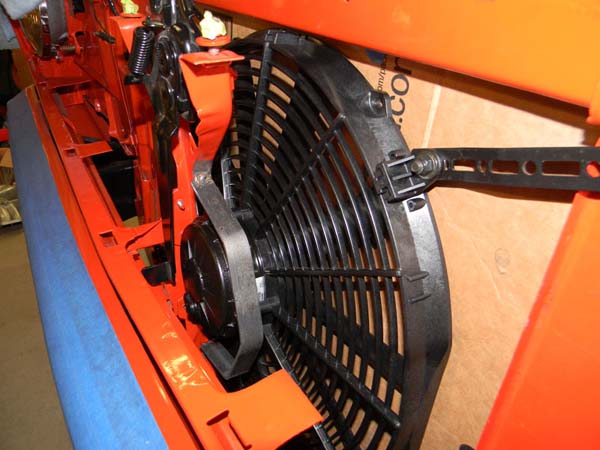
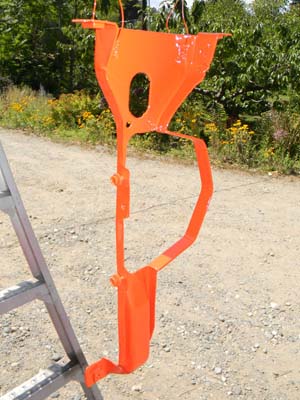
Modded brace is painted to match.
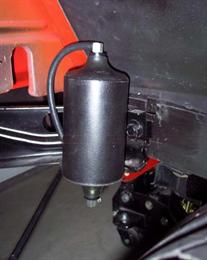
A sensor mounted in the water pump housing in conjunction with a relay automatically turn on the fan when temps reach 180* and off at 170*.
The fan moves a lot of air at the expense of noise.
So far I've found this fan and radiator combination to do a better job of cooling the new engine with the blower than my old, normally aspirated 440 with mechanical fan, shroud and copper brass radiator. I was pleasantly surprised and a happy camper.
I'll add that I did upgrade the water pump to a Milodon High Volume pump (16260) when I put the engine together. It incorporates an anti-cavitation plate on the impeller.
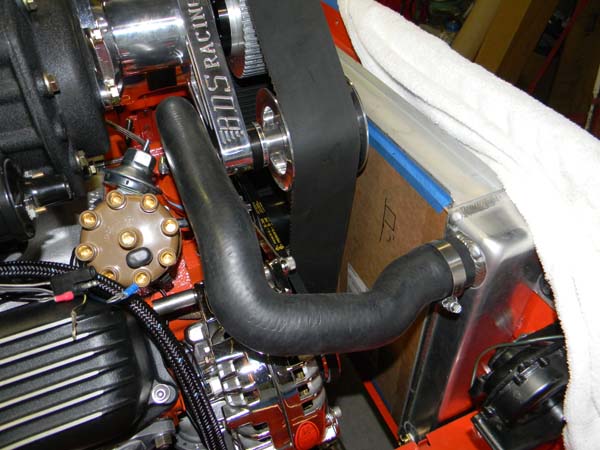
And finally, there's the necessary upper and lower radiator hoses to clear everything.
The upper is a Dayco # 71654 (which is actually for a Mazda application or some darned thing)...
The upper is a Dayco # 71654 (which is actually for a Mazda application or some darned thing)...
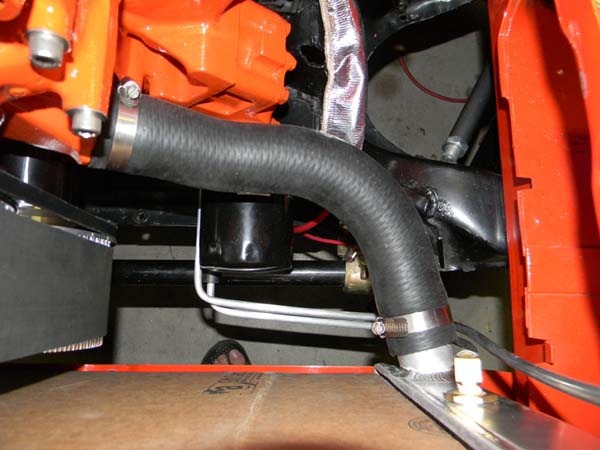

...and the lower is a Dayco # 70592 (a Chrysler application) with a slight bend trimmed off the radiator end.
I installed a coil spring in the hose to prevent it from collapsing under suction.
A 16lb. coolant recovery cap is a carryover from the old radiator. The coolant overflow hose is plumbed to a recovery tank I have hidden inside the fender.
I installed a coil spring in the hose to prevent it from collapsing under suction.
A 16lb. coolant recovery cap is a carryover from the old radiator. The coolant overflow hose is plumbed to a recovery tank I have hidden inside the fender.
 |
 |
 |
 |
 |
 |
 |
 |
 |
© 2013 JP Herrick Enterprises - All Rights Reserved
Site updated: January 2014
